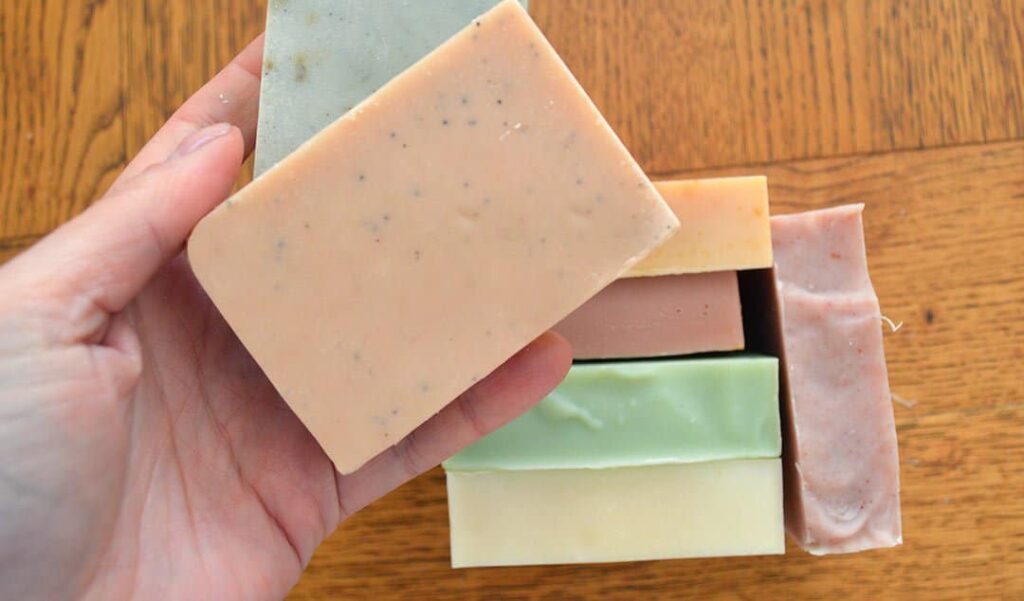
Soap making is quite the trend now, with Instagram reels and more videos on YouTube showcasing how great it is. It’s no surprise that you’ll want to produce soap. Making soap is also pretty easy, you can make it at home with no problems at all. You only need a few specific ingredients and a bit of artistic ability.
What is Soap?
Soaps are fatty acid salts generated by hydrolyzing lipids in a series of chemical reactions saponification. Each soap molecule is made up of a lengthy hydrocarbon chain known as the ‘tail,’ as well as a carboxylate ‘head.’ The free movement of sodium and potassium ions in water results in a negatively charged head. Soap is an excellent cleanser because of its capacity to act as an emulsifier.
A material that may distribute one liquid into another is known as an emulsifier. Soap can suspend oil/dirt and make it easier to remove.
Bring the scent of a luxurious spa experience right into your home with these tealight wax burners. With beautiful scents and an elegant candle-style styling, these are a great way to add some pampering moments to your day.
Ingredients needed for making soap:
You’ll need two ingredients for saponification to create soap at home: a fat and an alkaline substance. Lye is an alkaline substance. Bar soap contains sodium hydroxide, while liquid soap contains potassium hydroxide. Gel-like soaps can be made using a combination of the two. Lye and other ingredients can be found online, at big retail stores, and in hardware stores. I get my soap making ingredients from Soapery.
Various Methods for Making Soap at Home:
Melt and pour: This method entails purchasing a soap base, boiling it, adding chosen aromas and essential oils, and then pouring the soap into a mold. There is no need to be careful about handling lye because saponification has already occurred, and the soap can be used soon after cooling.
Cold process: Using lye and fat to make soap from scratch. There is no need to heat the soap, but it will need to cure for 4 to 6 weeks to complete saponification and remove all of the lye.
Hot Process: This includes making soap from scratch as well. Saponification is accelerated using heat, such as from a crockpot, so the soap can be ready in as little as a week.
Cold Process Soap Making: The Best Method.
Requirements:
- virgin coconut oil ⅔ cup
- 2/3 cup other liquid oil olive oil 2/3 cup oil, such as almond, grapeseed, sunflower, or safflower
- 1/4 cup lye (e)
- 3/4 cup iced water
- Canning jar (quart) Pint canning jar
- Molds for soap
- Gloves and goggles for protection
Steps To Make Soap:
Step 1:
Protect your workspace. Put on your gloves and other safety equipment. Half-fill the quart bottling jar with water. Make a spoon ahead of time. By measuring the lye, make sure you have exactly 14 cups. Carefully add the lye into the water, stirring it frequently (never the water into the lye) Step back while mixing to avoid the smells. Allow the water to settle before continuing to the next stage when it begins to clarify. As the chemical reaction takes place, heat will be produced.
Step 2:
In a pint jar, combine the three oils. They should brew a pint of something instead. For about a minute, microwave or warm the oil in a pan of water. Check your oils for temperature; they should be approximately 120 degrees Fahrenheit.
Step 3:
Once the lye and oils have reached the desired temperature, transfer the oils into a mixing bowl. Drizzle in the lye slowly, stirring frequently until completely blended. Hand-stir for a full 5 minutes with any heat-resistant spoon or spatula. It’s critical to get as much lye as possible in touch with as much soap as possible.
Step 4:
Combine the herbs, essential oils, and other components in a mixing bowl. To blend, thoroughly combine all ingredients. Cover the molds with plastic wrap after filling them with the mixture. Wrap an old cloth around the dish. The remaining heat will be used to start the saponification process.
Step 5:
After 24 hours, check the soap. If it’s still hot or soft, leave it alone for another 12 to 24 hours. Turn it out onto parchment paper or a baking rack when it’s cool and firm. Cut the bars now if you’re using a loaf pan as a mold. The soap should cure for four weeks. Allow air to circulate by turning it over once a week or placing it on a baking rack.
Step 6:
Wrap your soap in wax paper or keep it in a sealed container until it’s completely dry. Handcrafted soap produces glycerin, a humectant that draws moisture from the air. It should be wrapped to prevent dust and dirt from collecting in the moisture. Any lye-affected equipment should be cleaned. After neutralizing the lye with white vinegar, thoroughly clean the apparatus as usual.
What is Lye?
Although lye is necessary for soap production, working with it can be hazardous due to its caustic nature. It can cause flesh burns and fabric perforations. The saponification procedure, which can take anything from days to weeks, removes the lye from the formula. The chemical reaction reorganizes the molecules of lye, causing fat and lye to convert into soap.
Conclusion:
You can also choose to buy a soap bar and melt it at home just to design. However that might be easier, but the cold process method is more advantageous. When manufacturing soap, make sure you use the appropriate protective equipment because it can cause serious injury if you are not careful. You can try swirling more colors and adding designs and soon you will be a pro.

