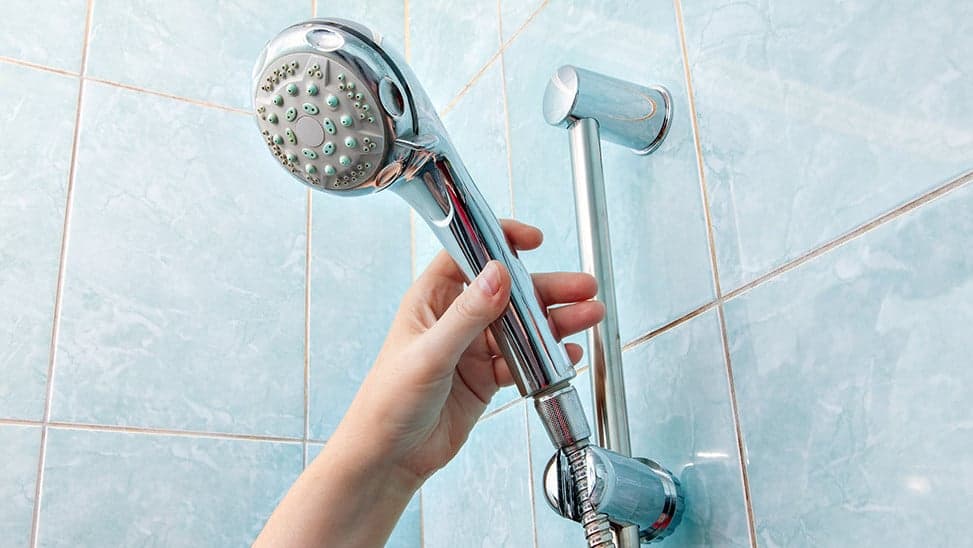
There is nothing more annoying than leaky showers. The sound of water dripping constantly is difficult to ignore. But you might start worrying about how it will affect your water consumption and how it will impact your Utility Bidder monthly bills and earth.
Also, a leaking shower is just the start as it can lead to other problems such as mold and property damage. This is why it is important to fix a leaky shower head as quickly as possible. Here is what you should do.
Figure out why the shower head is leaking
Table of Contents
There are many reasons why the showerhead may be dripping, and it can become difficult to pinpoint the problem unless you take a close look.
The most common cause of leaking showerheads is a buildup of dirt, limescale, and grime around the rubber jets of the showerhead, which leads to blockage of water flow.
Another reason could be a worn-out rubber washer. The o ring is an inner seal that prevents water from leaking from in between the hose and showerhead. Over time this rubber seal can become worn out, causing the showerhead to leak.
How to fix it?
Once you have figured out the cause of the issue, fixing it won’t be a problem. Here is a step to step guide on how to fix a leaking shower head yourself.
1. Turn off the water supply
Before you start fixing the issue, it is important that you turn off the water supply so you can work easily. It will probably take a few minutes for the water to come to a complete stop. You can use a towel to dry the shower head and hose.
2. Give the showerhead a wash
It is important to keep the showerhead clean and clear. Start off by removing buildup dirt, limescale, and grime from the showerhead. You can purchase a cleaning solution from the market or make your own using distilled white vinegar mixed with warm water.
Making your own solution is more economical, and your shower head won’t have to face harsh chemicals that can damage it. Remove the showerhead from the hose by rotating it and then place it in a bucket.
Pour your solution onto the showerhead and let it soak for at least 40 minutes. After that, use a toothbrush to scrub the showerhead to remove stubborn dirt and debris. Then rinse the showerhead by turning on the water supply.
3. Inspect the seal
Inspect the rubber washer seal, and if it is worn out, then you will need to replace it with a new one.
4. Reattach the showerhead
Once you have cleaned the showerhead and replaced the rubber seal, reattach the showerhead to the hose by twisting it on.
5. Inspect the shower valve
If the showerhead continues to leak, then the problem probably lies in the shower valve. Unscrew the handle of the tap and inspect the seal to see if it is worn out and has to be replaced or not. This is the trickiest part, so you might want to contact an experienced plumber for this job.
Final thoughts
Following the above-mentioned steps will probably fix the leaking shower head. If you are unable to find the problem and fix the issue, you should contact a good plumber. He will look into it and fix it for you.

